Here are the steps…

Advantages to Embroidery
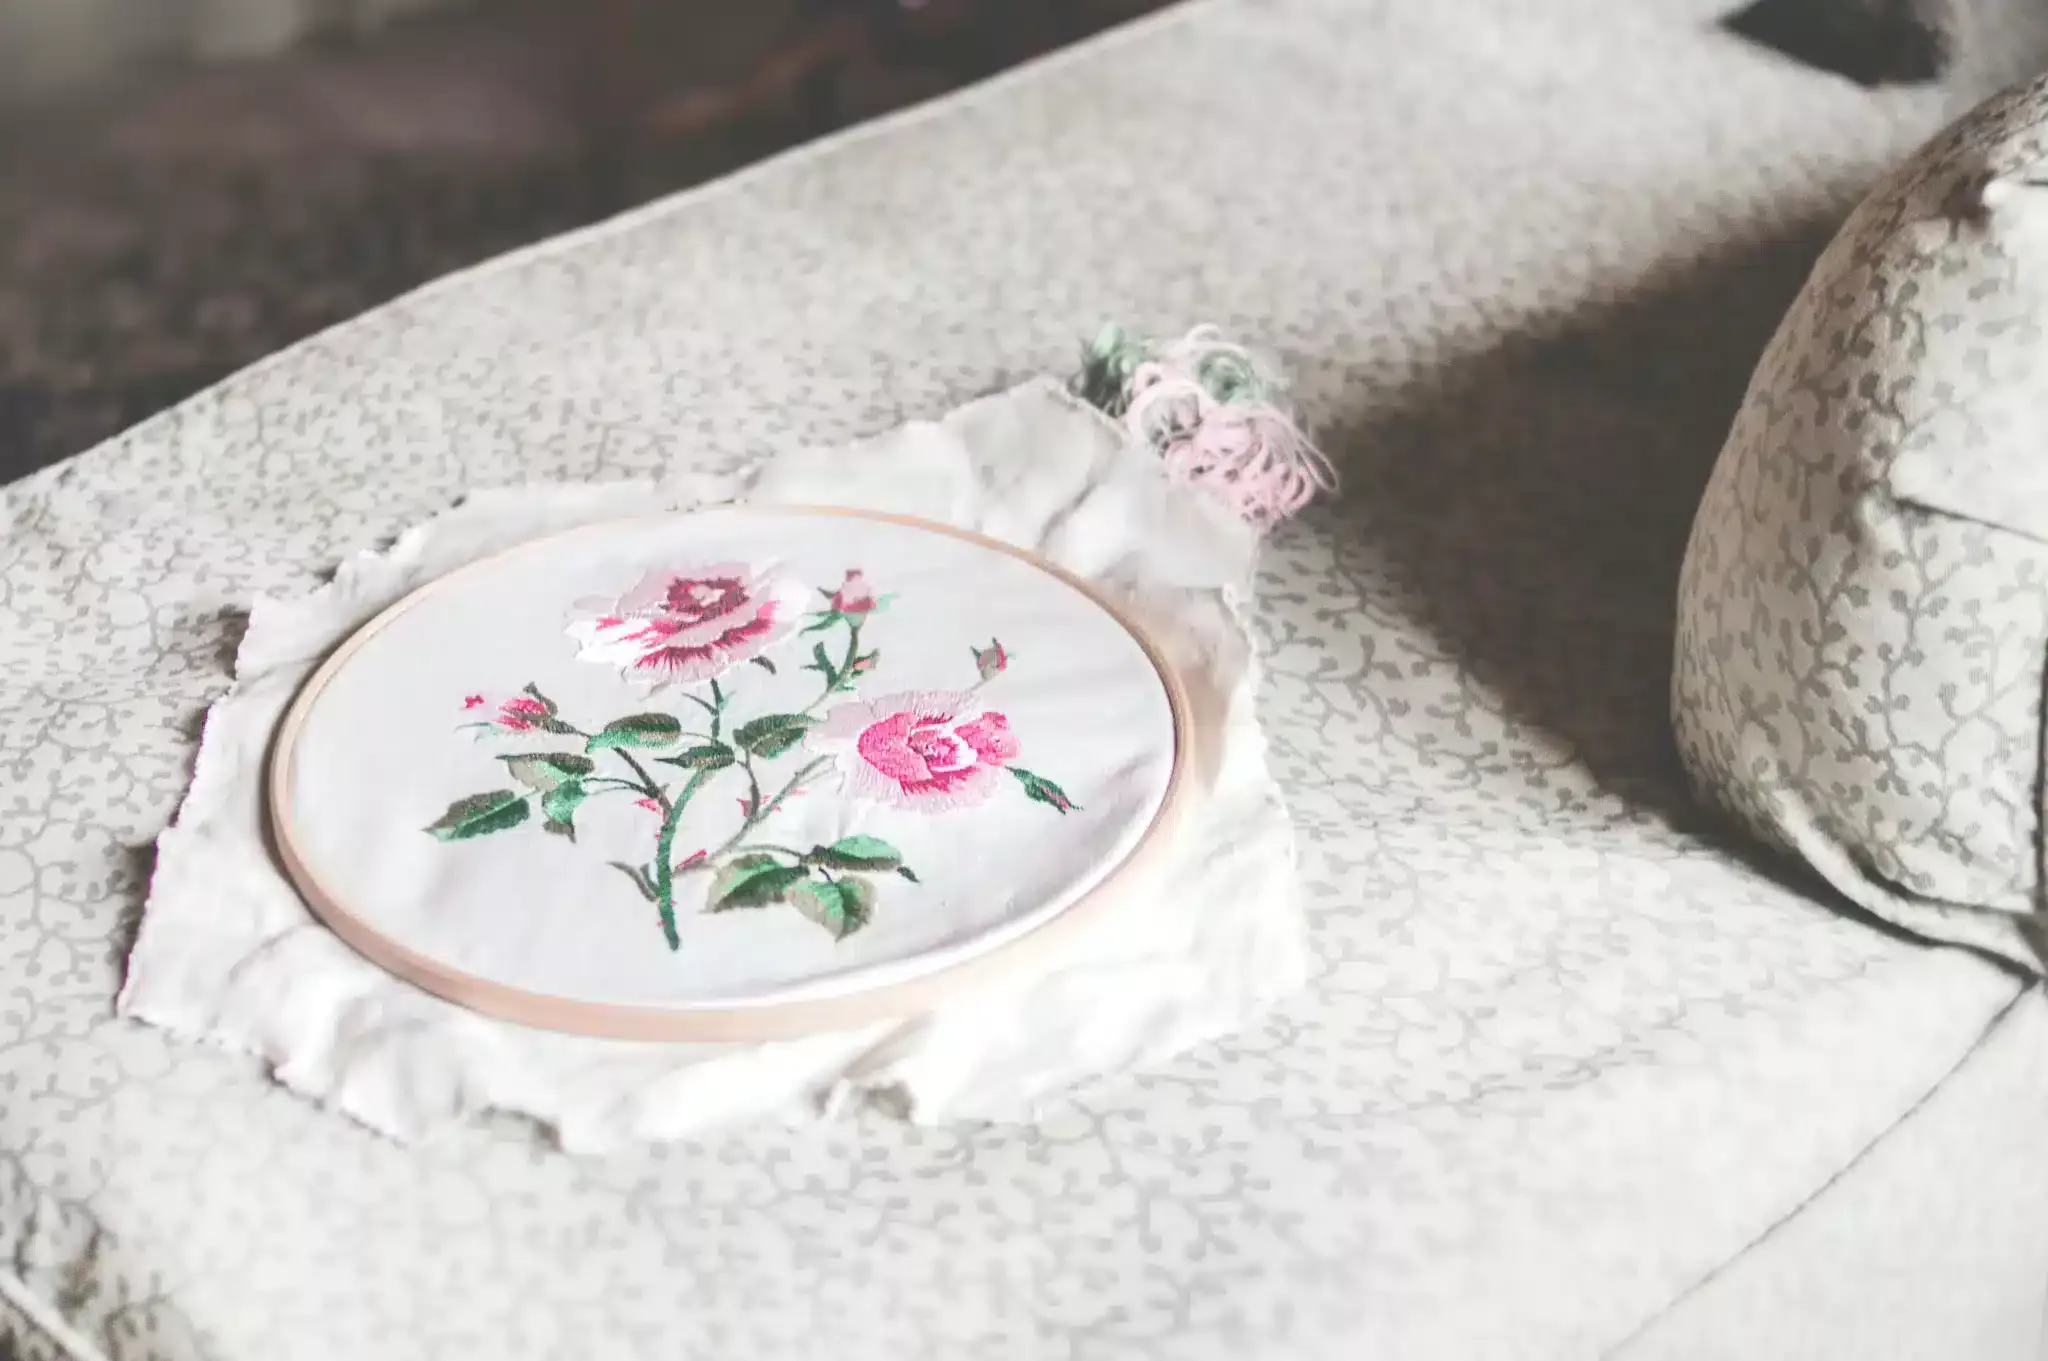
Embroidery is a wonderful choice for a fun and artistic hobby! It is great because it can be useful and/or decorative. If you like art and color mixed with a form of sewing, then this might be for you!
Getting Started
In this article, I will attempt to layout the foundation for learning embroidery. I will walk you through a simple project that should give you an understanding of the concept. Let’s get sewing!
Materials Needed
- Fabric (Usually Cotton or Linen)
- A Needle
- An Embroidery Hoop
- Embroidery Floss
- Scissors
- A Pattern
Preparing your Fabric
First, you need to prepare your fabric for use. For most fabrics it is recommended to wash before use, however, I usually just start my project. Now it’s time to get a pattern! You can choose whether you want to create your own pattern with a pencil or buy an iron-on transfer pattern at the store. For beginners, I recommend a transfer pattern. Transfer patterns are simple and clear. Plus, the ink is designed to wash out of the fabric. Follow the instructions on package to apply pattern to fabric. Finally, center your pattern in the hoop and secure it. Now you are ready to get started!
Needle and Thread
Embroidery floss, unlike regular thread, usually has six strands in one. To start, separate the strand in half, with three smaller strands in each part. Now, once that you have your thread, pull it through the eye of the needle. Pull it to about two-thirds of the remaining side. Now, knot the end of the longer strand. I usually knot it two or three times, just to be safe.
Basic Stitches
Did you know that Embroidery is mentioned in the Bible?
In the book of Exodus, God gave specific instructions for the coats that Aaron and his sons were to wear. God commissioned, Aholiab, son of Ahisamach, and Bezaleel, son of Uri, to embroider the garments. Not only were they supposed to be embroidered, but they were to use thread in the colors of blue, purple, and scarlet. The fabric that they were to embroider on was woven very carefully, according to God’s command. At the hem of the robes, were woven pomegranates. Clearly, we serve a creative and artistic God!
To learn more about this subject read,
Exodus 28:31-41, Exodus 35:34-35, & Exodus 38:22-23
Now that your needle and fabric are prepared, it’s time to learn some basic embroidery stitches:
Straight Stitch
Bring the needle up through the fabric and then back down, creating a straight line.
Back Stitch
Bring the needle up through the fabric, then insert it back into the fabric a short distance behind the starting point. Bring the needle up again a short distance ahead and repeat.
Satin Stitch
Create a row of parallel stitches close together, covering the desired area. This stitch is great for filling in shapes or creating solid lines.
French Knot
Bring the needle up through the fabric. Wrap the floss around the needle once or twice, then insert the needle back into the fabric close to where it came up. Gently pull the needle through, creating a knot.
Chain Stitch
Bring the needle up through the fabric and then back down, creating a loop. Bring the needle up through the fabric again inside the loop, and then back down through the fabric at the end of the loop. Repeat to create a chain-like pattern.
Practice these basic stitches on a spare piece of fabric before starting your actual embroidery project. As you become more comfortable, you can experiment with different stitch combinations and variations to create unique designs.
Questions About Embroidery
Is Embroidery and Sewing the same thing?
The simple answer is, No. Although I would say that embroidery is in the sewing category, I would not say that sewing and embroidery are the same. Sewing often pieces fabric together, where as, embroidery adds more a decretive touch.


